Quickstart
Sign up, create an agent key and see your first request approved in five minutes, with nothing to install.
You need an email address and a terminal. Nothing to install: two curl commands show the whole loop an agent goes through. Then pick the integration for the agent you actually run.
1. Create a workspace and a key
- Sign in with your email. You get a link; there is no password.
- Name your workspace. It holds your agents and their record.
- Open Agents and create a key. Copy it now: it is shown once, and only a hash of it is stored.
2. Have the agent ask
Before a risky action, the agent posts a request. It says who it is, what it wants to do, and how long it will wait. Run this with your key:
curl -X POST https://api.variantgate.com/v1/requests \
  -H 'authorization: Bearer gl_YOUR_KEY' \
  -H 'content-type: application/json' \
  -d '{
    "agent": "mail-bot",
    "action": "email.send",
    "summary": "Send the March invoice to Acme",
    "details": { "to": "billing@acme.example" },
    "ttl_seconds": 900
  }'
The answer is the request itself, with an id, a status of pending and allowed: false.
No terminal at hand? Right after you create the key, choose Send a test request in the same box. The app asks with the new key the way an agent would, and the request waits in the inbox like any other, unless a rule you wrote answers it at once; then it is in Record.
3. Decide in the inbox
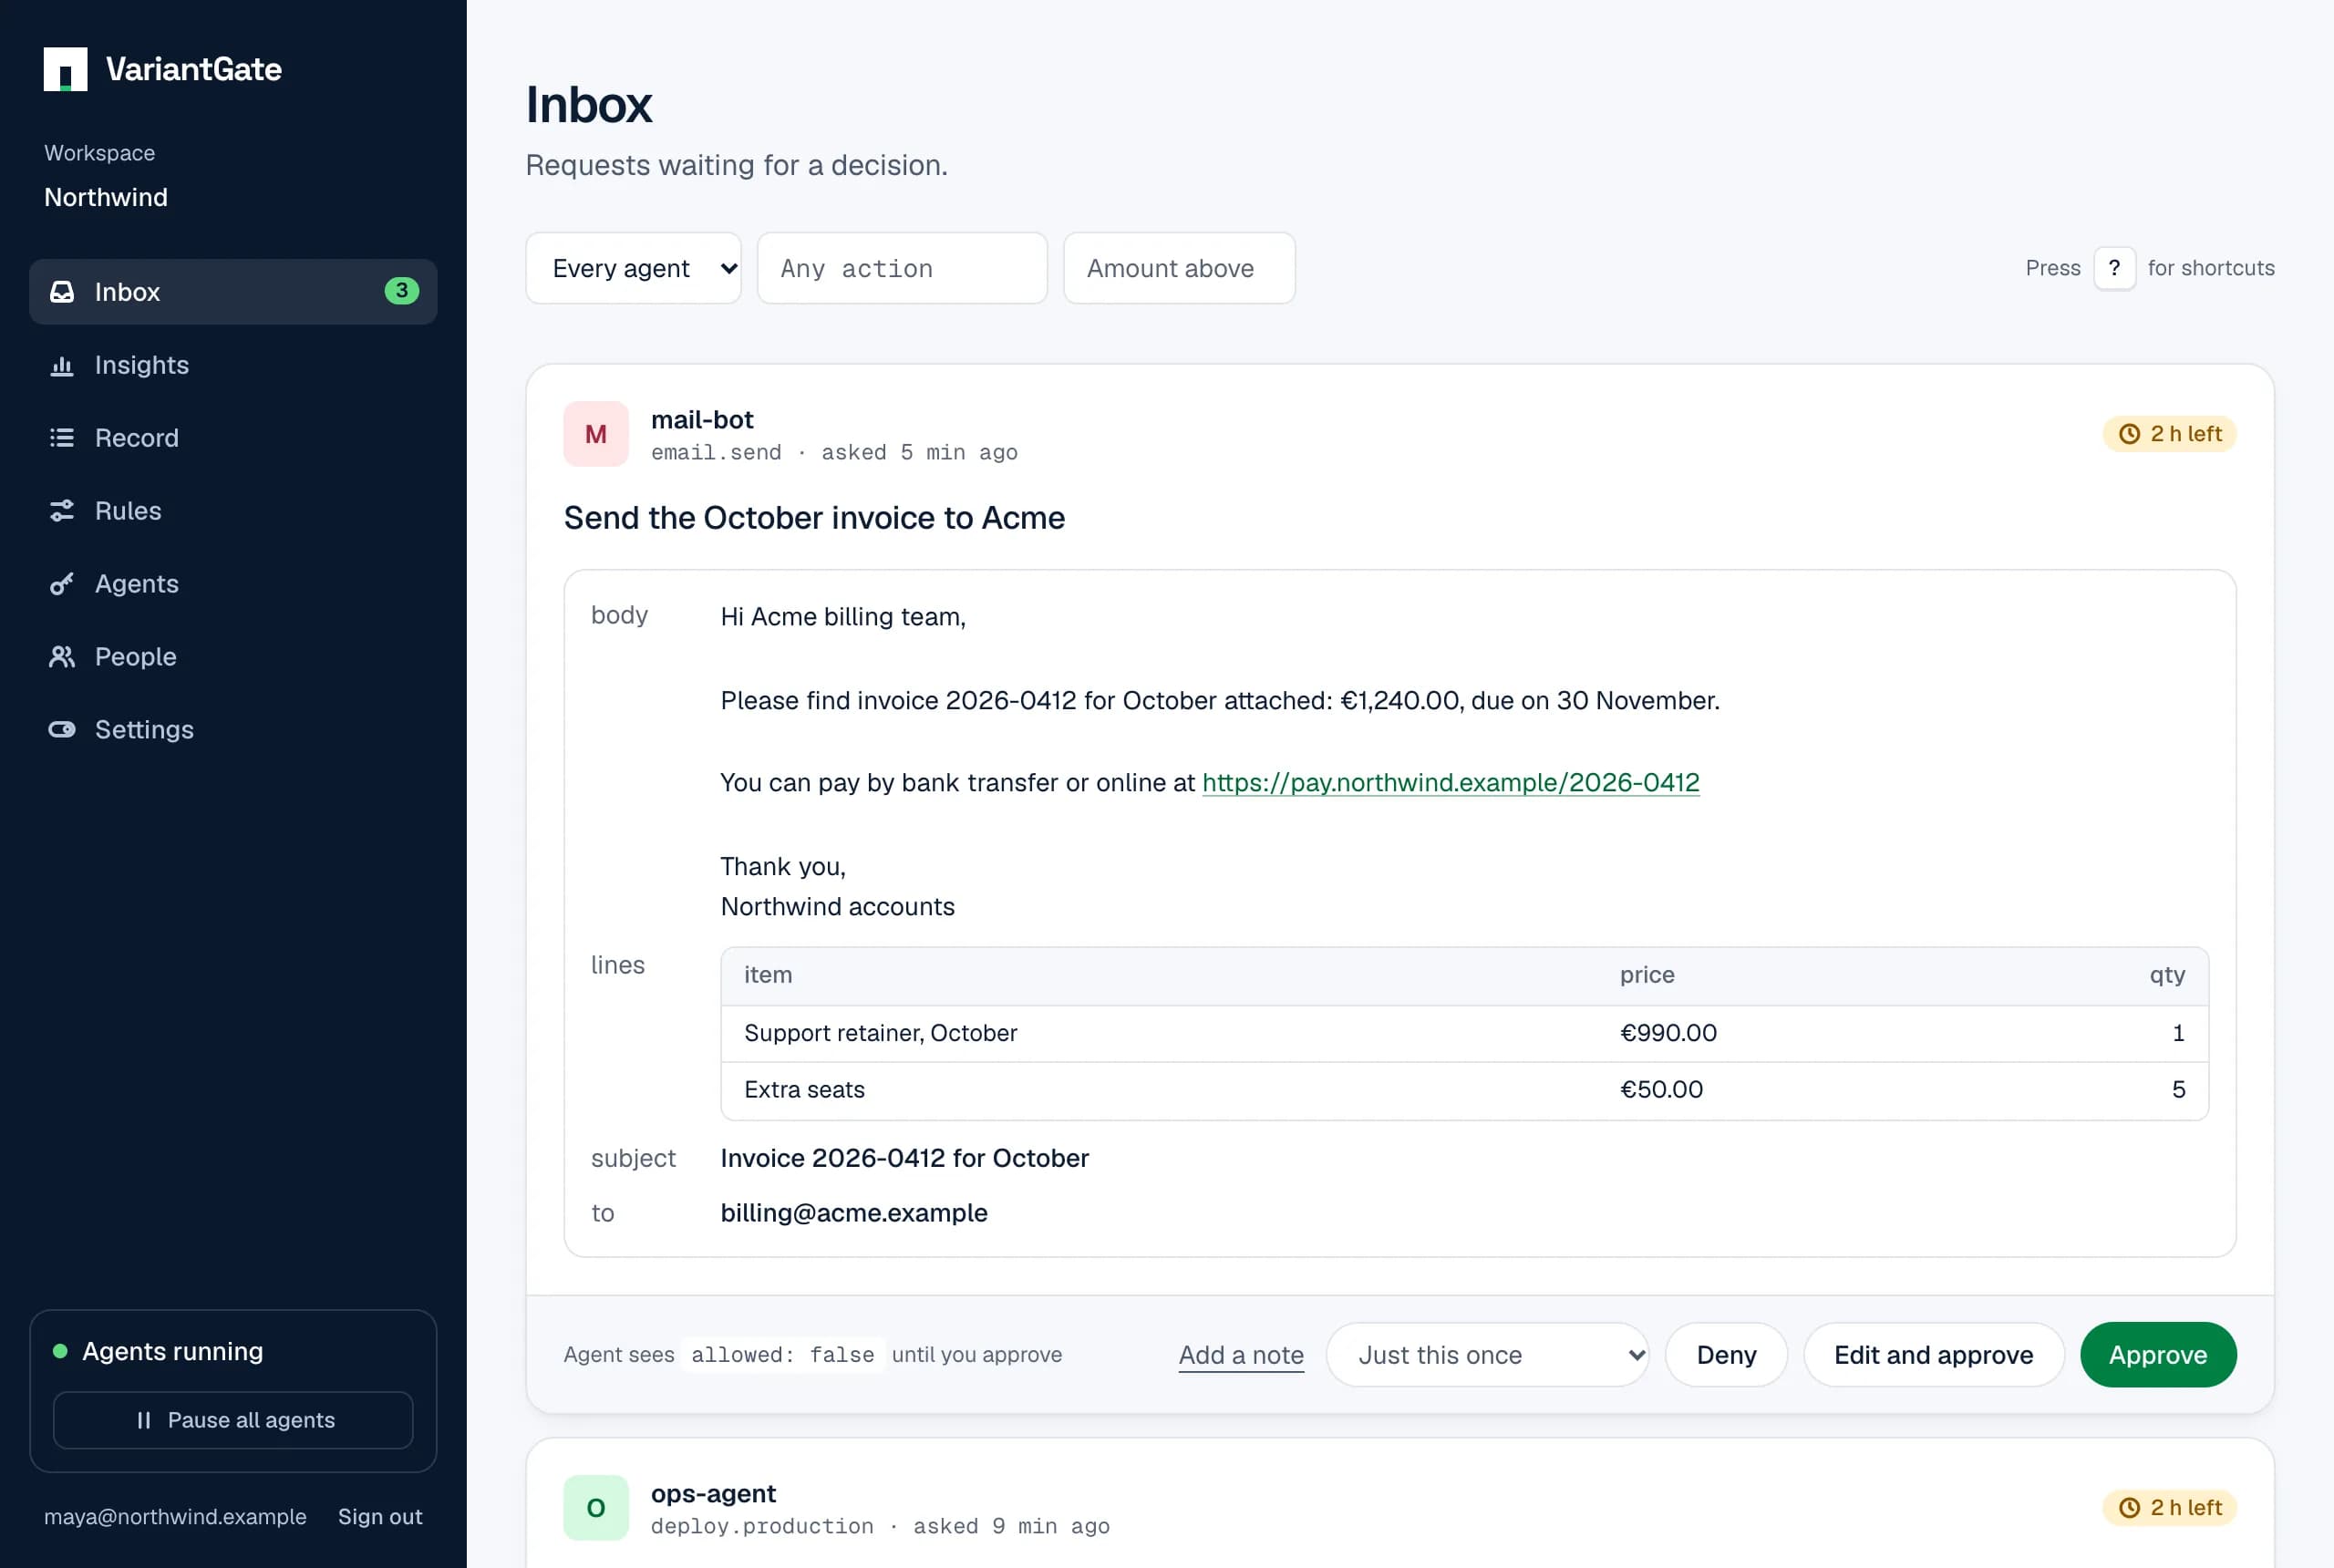
The request appears in your inbox within a few seconds, with the summary and the details. Approve it, with a note if you like. On a phone, add the inbox to your home screen and it opens like an app.
4. Let the agent read the answer
The agent checks back with the id it was given. With wait_seconds the call stays open until you decide, for up to 30 seconds:
curl 'https://api.variantgate.com/v1/requests/REQUEST_ID?wait_seconds=30' \
  -H 'authorization: Bearer gl_YOUR_KEY'
{
"id": "0190d1c5-…",
"status": "approved",
"allowed": true,
"paused": false,
"decided_by": "ada@example.com",
"by_rule": false,
"decision_note": null,
"expires_at": "2026-03-04T10:15:00Z"
}The agent acts only when allowed is true. Pending, denied and expired all mean stop, and so does an error.
Connect your real agent
The same two calls work from any language. For the agents people use most, there is a ready-made setup:
- Claude CodeMake Claude Code ask a person before it runs a shell command or calls a tool: the MCP server, the skills, and a PreToolUse hook.
- CodexMake OpenAI Codex ask a person before it acts, through the MCP server or a PreToolUse hook that approves shell commands.
- CursorGive Cursor's agent an approval tool through MCP, with the key kept out of the configuration file.
- VS CodeConnect GitHub Copilot's agent mode in VS Code to approvals through .vscode/mcp.json, with the key asked for once.
- Claude appAdd the approvals server to the Claude app as a custom connector, so Claude asks before acting on your behalf.
- GitHub Actions and CIHold a deploy or any CI step until a person approves it, from GitHub Actions or any pipeline that runs a shell.
- LangChainWrap a LangChain or LangGraph tool so it runs only after a person approves, using the HTTP API.
- OpenAI Agents SDKMake an OpenAI Agents SDK function tool ask a person first, using the HTTP API.
- n8n and ZapierPut a person's approval in the middle of an n8n or Zapier workflow with plain HTTP steps.
Where to go next
- Tired of approving the same thing? Write a rule, with an amount limit or a budget if money is involved.
- Want to hear about requests without watching the inbox? Turn on chat or browser notifications.
- Deciding with colleagues? Share the workspace.
- Something going wrong? One switch is the emergency stop.