Add an approval step to any MCP agent in ten minutes
A step-by-step guide to putting a person's yes between an MCP agent and its risky actions.
· 5 min read
The Model Context Protocol gives an agent tools. It says nothing about which of them a person should sign off first. This guide adds that step: the agent asks, a person answers in an inbox, and the agent acts only on a yes. It takes about ten minutes with VariantGate.
1. Create a key for the agent
- Sign in with your email and name a workspace.
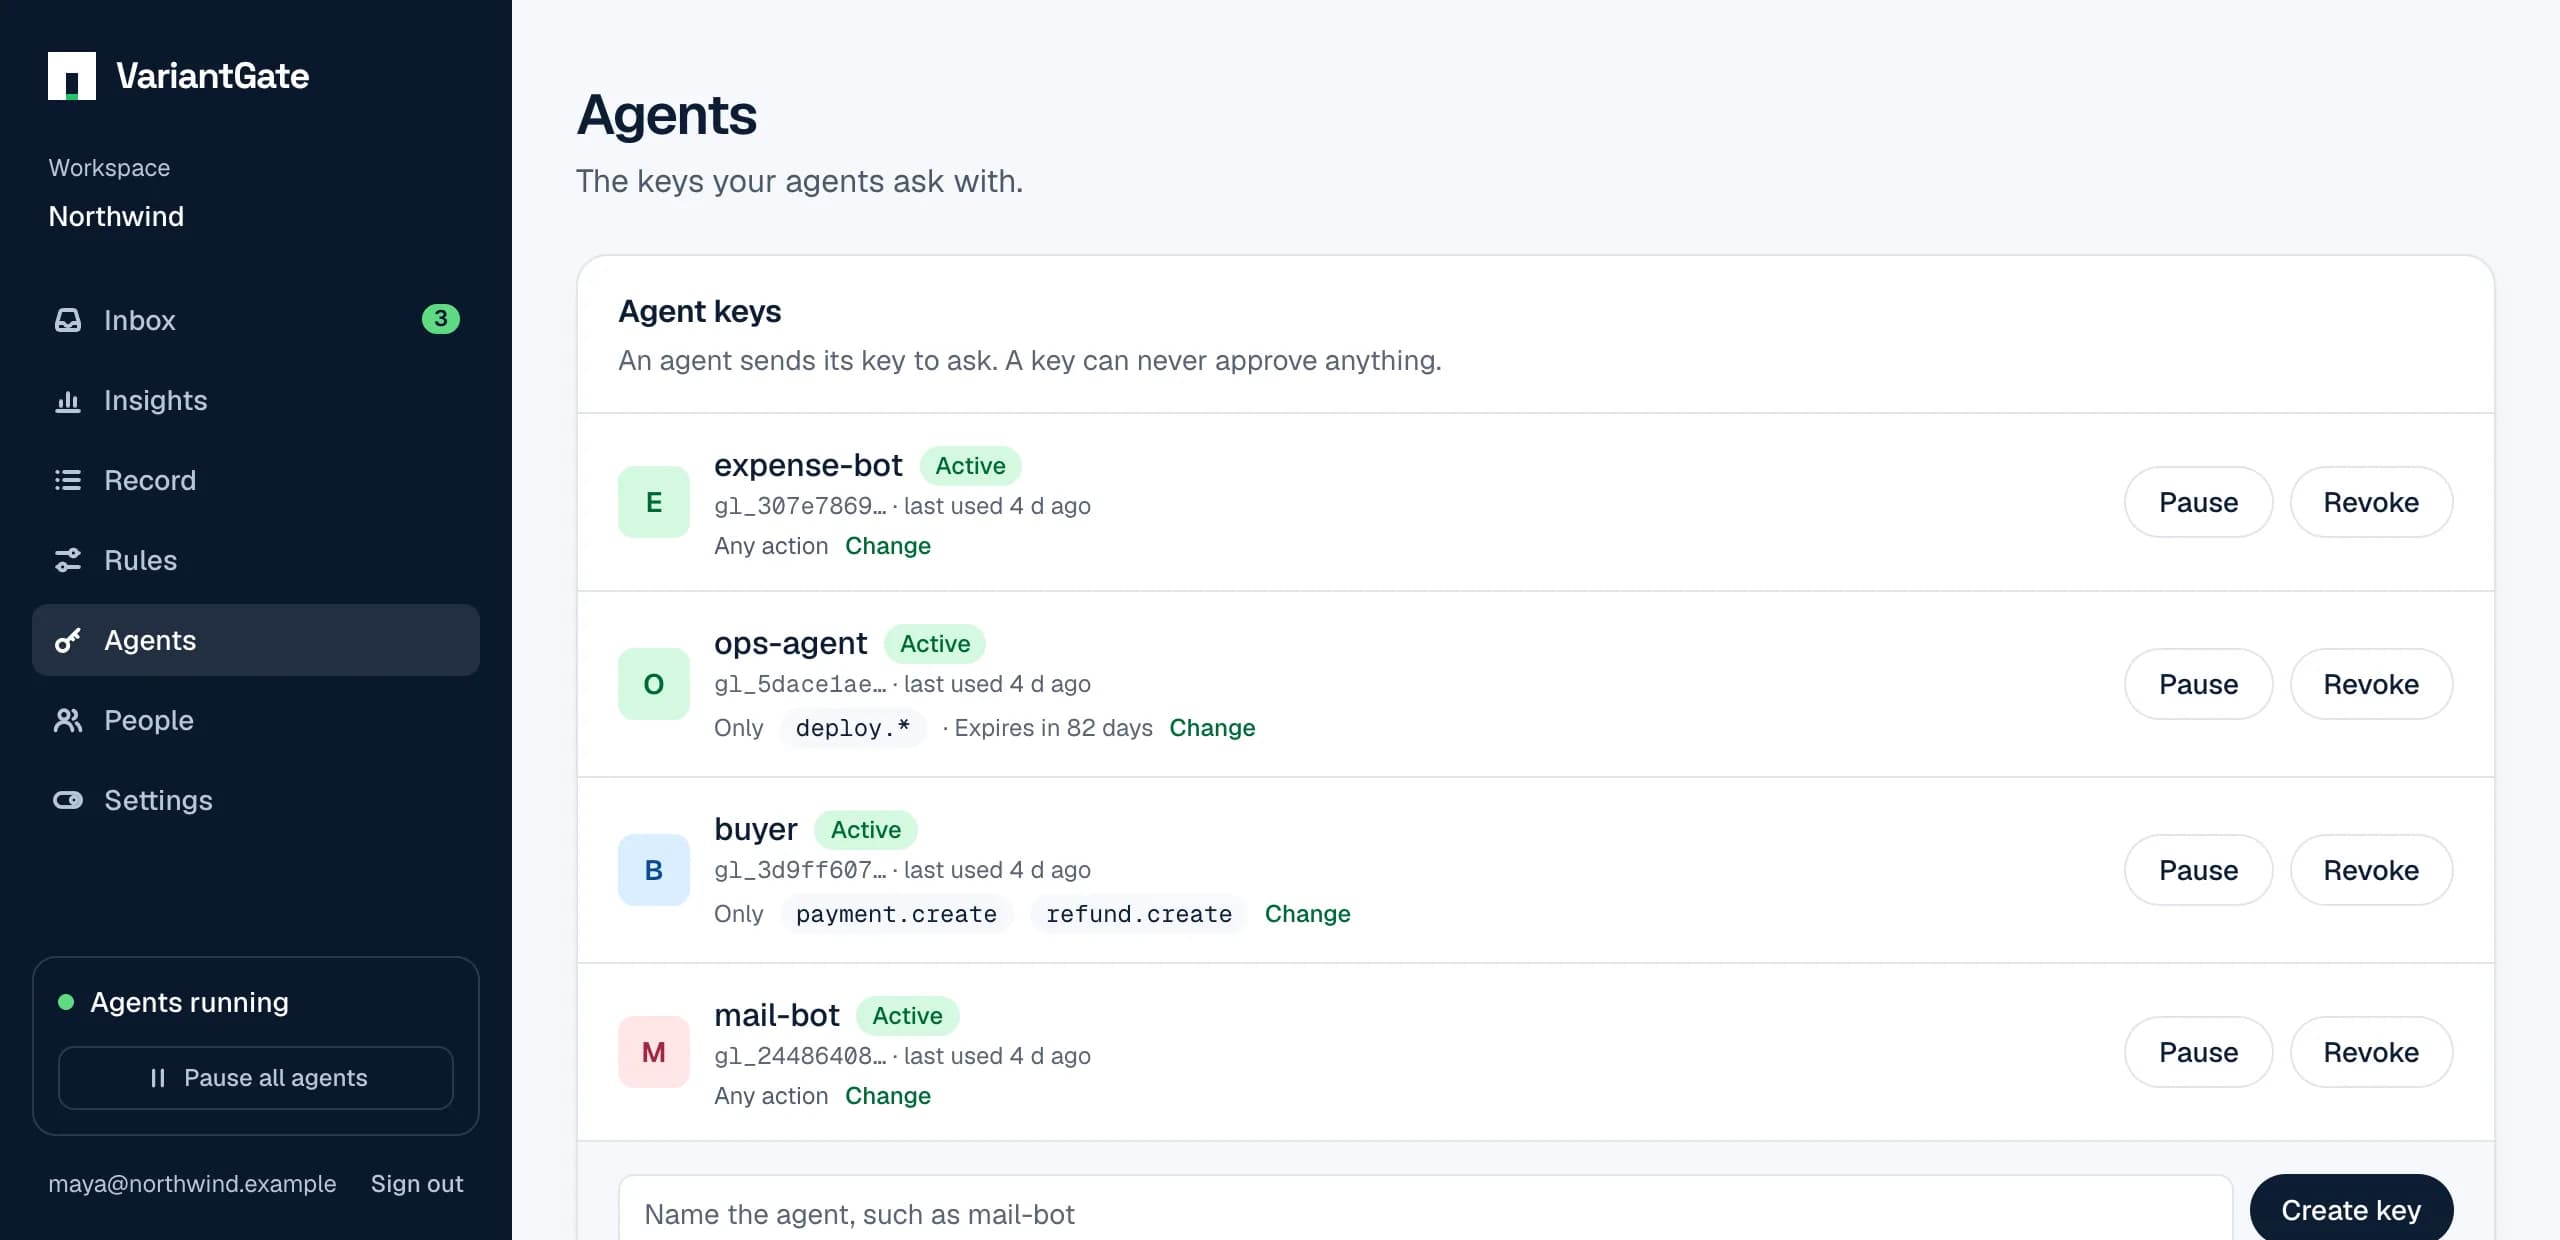
- Open Agents and create a key. Copy it: it is shown once.
2. Connect the server
With Claude Code it is one command:
claude mcp add --transport http approvals https://api.variantgate.com/mcp \
  --header "Authorization: Bearer gl_YOUR_KEY"
Other clients take the same address and header in their MCP configuration; the docs show the file. The agent now has four more tools:
- request_approval
- Asks a person. Takes the agent's name, the action, a one-sentence summary, and optionally details, an amount with its currency, a time limit and how long to wait for the answer.
- check_approval
- Reads the answer for a request. The field that matters is allowed.
- withdraw_request
- Takes back a request nobody has decided, when the plan changes.
- report_outcome
- After acting, says whether it succeeded or failed, for the record.
3. Tell the agent when to ask
Tools say what an agent can do, not when to do it. Add a few lines to its instructions:
Before you send, pay, publish or delete anything, call
request_approval with one sentence saying exactly what will happen.
Then call check_approval until it is no longer pending.
Act only if "allowed" is true. Otherwise stop and say why.
The repository also ships a ready-made skill, asking-for-approval, that covers the same ground in more detail, including how to write a summary a person can decide on.
4. Try it
Ask the agent to do something from your list. A request appears in the inbox within a few seconds. Deny it once, on purpose, and check that the agent stops. Then approve one and watch it continue.
5. Make it impossible to skip
Everything so far relies on the model choosing to ask. That is fine for an assistant you are watching. For an agent that runs on its own, move the check into the code of the tool itself, so the action cannot happen without a yes:
async function approved(action: string, summary: string) {
  const asked = await call("POST", "/v1/requests", {
    agent: "mail-bot",
    action,
    summary,
  });
  let answer = asked;
  while (answer.status === "pending") {
    await wait(2000);
    answer = await call("GET", `/v1/requests/${asked.id}`);
  }
  return answer.allowed === true;
}

async function sendEmail(to: string, subject: string, body: string) {
  if (!(await approved("email.send", `Send "${subject}" to ${to}`))) {
    throw new Error("not approved");
  }
  // ...send it
}
Here call is a small helper that sends the request with the agent’s key and returns the JSON answer, and wait pauses. The loop ends by itself: a request nobody answers expires and is no longer pending.
Compare allowed, not status. While a workspace is paused an approved request still answers allowed: false.
6. Stop answering the routine ones
After a few days you will know which requests you always approve. Write a rule for those, and the inbox keeps only the ones worth a look.